Writing a node console app in Typescript
I had to create a quick console app in Typescript a few days back to test a few things. This post should help you (and me) setup a typescript console app within a minute.
For the sake of this example, I'm going to create a simple hello-world-ish console app that prints our public IP.
Setup the new application
mkdir foo && cd foo
npm init --yes foo
Update the generated package.json as required.
Now add the tsconfig.json file. Here's a basic one:
{
    "compilerOptions": {
        "target": "es5",
        "sourceMap": true
    }
}
If you're using VS Code, you may need to restart it for intellisense to work.
Install dependencies
npm install --save typescript ts-node
npm install --save-dev @types/node
We'll need typescript and ts-node to run the app. We could install these globally as well, but I prefer to keep and use local dependencies.
@types/node has typings for node related elements like process.argv.
Create the entry point
Create a file called index.ts and add the following code:
#!/usr/bin/env node

console.log('hey there!')
Run the program
We can run our index.ts using:
./node_modules/ts-node/dist/bin.js index.ts
I'm going to create a script out of the command in package.json to save me some keystrokes. Here's what my package.json looks like:
{
  "name": "foo-ip",
  "version": "0.0.1",
  "scripts": {
    "foo": "./node_modules/ts-node/dist/bin.js index.ts"
  },
  "dependencies": {
    "ts-node": "^3.2.0",
    "typescript": "^2.4.1"
  },
  "devDependencies": {
    "@types/node": "^8.0.7"
  }
}
We can now run the console app using:
npm run foo
If you're familiar with typescript, you should be able to take it from here.
Writing our program
Okay, so let's get to writing the program that displays our public IP. We'll obtain our public IP by hitting the REST API at https://httpbin.org/ip using axios.
Install axios using:
npm install --save axios
Replace the index.ts code with this:
#!/usr/bin/env node

import axios from 'axios'

axios.get('https://httpbin.org/ip')
    .then((response) => {
        console.log(`Your IP is ${response.data.origin}`)
    })
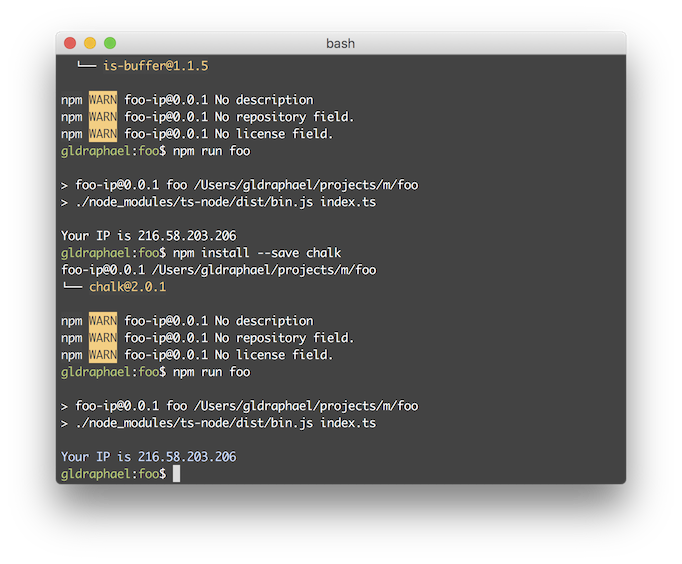
Running npm run foo should print your ip now.
Using CommonJS style libraries
Let's say we need to display the text in cyan using chalk.
Install chalk using:
npm install --save chalk
Their README expects us to use CommonJS's require() syntax. We'll have to do it the Typescript/ES6 way instead:
import * as chalk from 'chalk'
You'll need to do this for all libraries that require you to use require() to import it.
Our new code now becomes:
#!/usr/bin/env node

import axios from 'axios'
import * as chalk from 'chalk'

axios.get('https://httpbin.org/ip')
    .then((response) => {
        console.log(chalk.cyan(`Your IP is ${response.data.origin}`))
    })
Taking it from here
That's all you need to know to create a typescript console app. The rest is the same usual node thing, you know. If you're trying to create a CLI, Peter Benjamin has a nice blogpost on creating one.